How do I recreate my database from a backup?
Last Updated: October 05, 2019
Keywords: backup, recreate, restore
This article is for Readerware 2 users and will guide you through the process of recreating your Readerware 2 database from a backup.
If disaster strikes you can use the Readerware restore wizard to recover your database.
If you had a total drive failure your first step is to reinstall Readerware. You can download the last version of Readerware 2 from the web site. Install the software as normal and register using the registration information you received when you ordered the product. If you no longer have this you can recover it by contacting support@readerware.com and providing your order information.
To restore your database start Readerware and select File->Restore Database to launch the restore wizard. You need to provide two pieces of information, the backup file to restore from and the name of the new database you want to create.
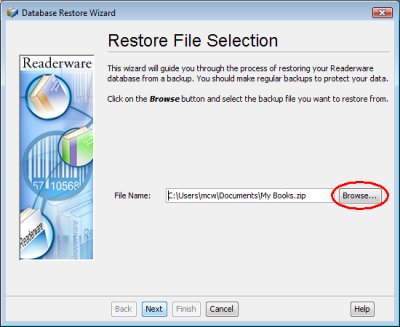
On the Backup File Selection page of the wizard is where you tell Readerware what backup file you want to restore from.
 |
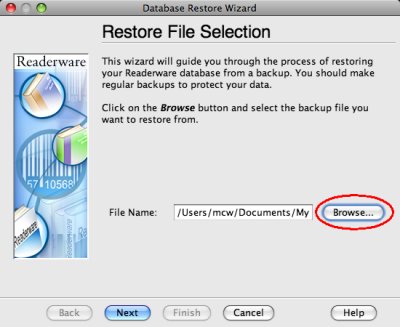 |
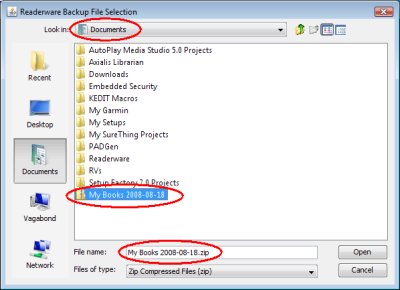
To provide this information click on the Browse button. The standard file selection dialog is displayed:
 |
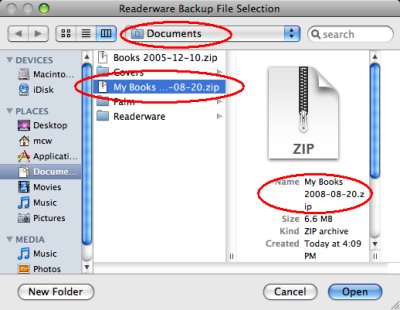 |
Navigate to the drive and folder where you created your backup file and select it. In this example we went to the Documents folder which is where we created the backup file. It then appears in the file list, click on the file to select it and the name also appears in the File name field. Click on the Open button to select the file and return to the Readerware restore wizard
Once you have selected the backup file, click Next.
 |
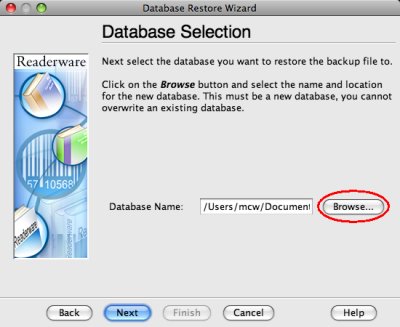 |
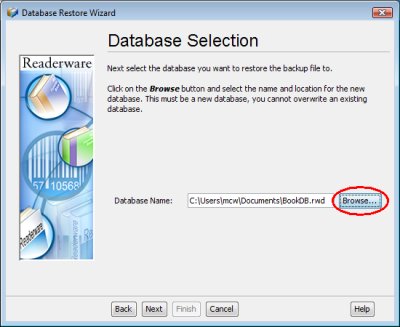
On the Database Selection page of the wizard is where you tell Readerware where you want to create the new database and what you want to call it. Default values are provided but you really should make your own selections. Choose a convenient location for the new database and use a name that you will remember. You will need to know where your database is when you open it after the restore completes, so it is important that you know where you created the database and what it is called.
 |
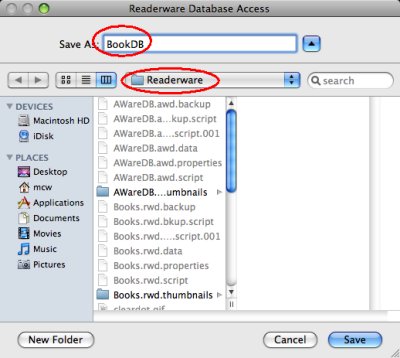 |
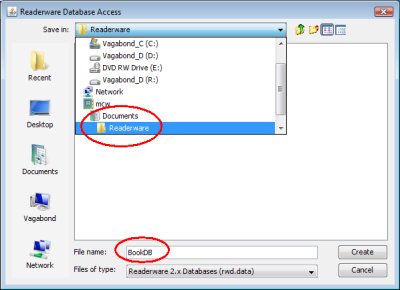
Your Documents folder is a good choice, you can create a "Readerware" or "Database" folder inside Documents and create the database there. In this example you can see that we have a Readerware folder inside Documents. In the File name or Save As field we entered the name for our new database, we called it BookDB.
Once you have made your selection, click on the Create or Save button to return the the Readerware Restore Wizard. Click Next to continue.
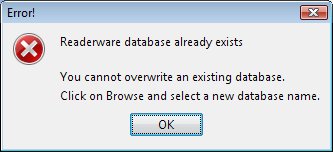
At this point Readerware verifies your database selection, if the database already exists you will receive the following error:
 |
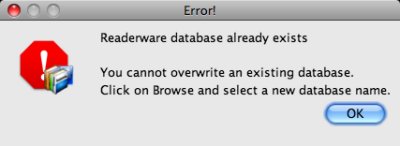 |
Readerware will not let you overwrite an existing database. What if there is a problem with the backup file, maybe it was stored on CD and now the CD has read errors. If Readerware were to delete your existing database and then the restore failed, you could end up losing data. So you must restore to a new database. If you get this error click OK to dismiss the dialog and select a new database name or location. When done click Next again.
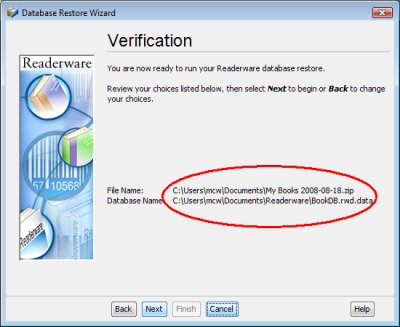
When you click Next and your database selection is valid the verification page is displayed so that you can review your choices before continuing:
 |
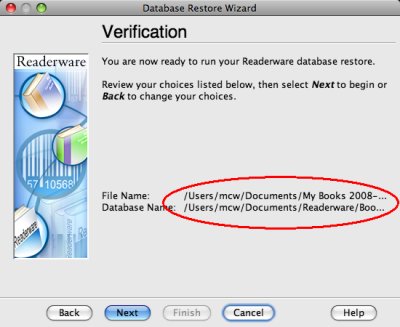 |
Readerware displays the choices you made, the name of the backup file you are restoring from and the name of the new database you are creating. Make sure the database name and location is correct. Make sure you have selected a convenient location and a name you will remember.
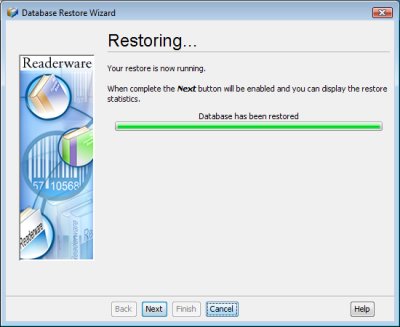
Click Next to start the restore:
 |
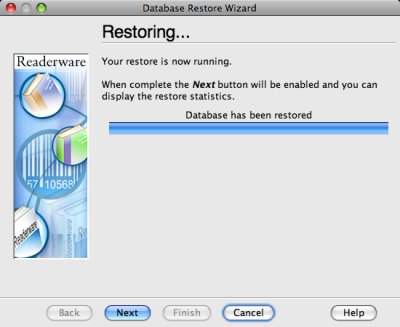 |
A progress dialog is displayed so that you can see how the restore is going. Wait for it to complete.
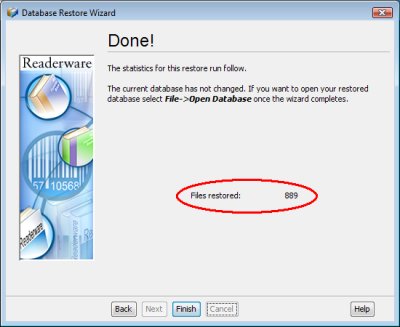
At that point the Next button will be enabled, click Next to review the restore statistics:
 |
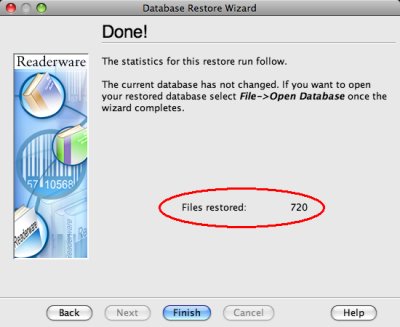 |
The final page of the restore displays some statistics, the number of files restored. This is the number of database files restored, it will not correspond with the number of records in the database.
Click Finish to close the restore wizard.
You restore is now complete, your new database has been created at the location you specified.
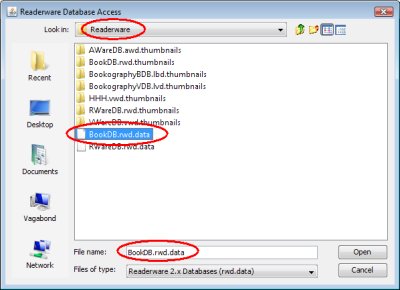
There is one final step. The restore created a new database, now you need open it. Select File->Open Database and the standard file selection dialog is displayed. Navigate to the folder where you created your database in the restore wizard and select it.
 |
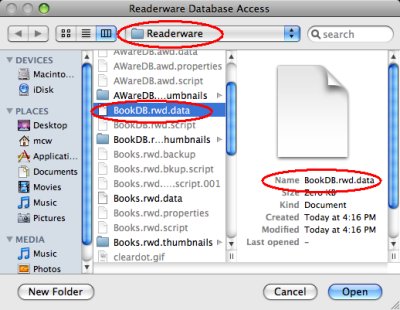 |
In our restore example we created the new database in a Readerware folder inside our Documents folder. So we navigate to this folder and select the BookDB.rwd.data file. The selection appears in the name field. Click on the Open button, Readerware will now open the database and your data will be displayed. Readerware remembers the last accessed database and opens it automatically the next time the program is started.
Related Articles
- How do I backup my database?
Backing up your database is a simple process, all you need to provide is the name and location of the backup file you want to create. By default whenever you close a Readerware program you are asked if you want to backup your database....
